Activity Designer Overview
The Activity Designer is a visual tool for creating interactive learning experiences.
What You Can Create
- Interactive Activities — Step-by-step guided experiences
- Reflection Exercises — Journaling and self-assessment tools
- Coaching Programs — Multi-session development paths
- Training Modules — Skill-building sequences
Accessing the Designer
- Click Design in the main navigation
- Select Create New Activity or edit an existing one
- The designer canvas opens
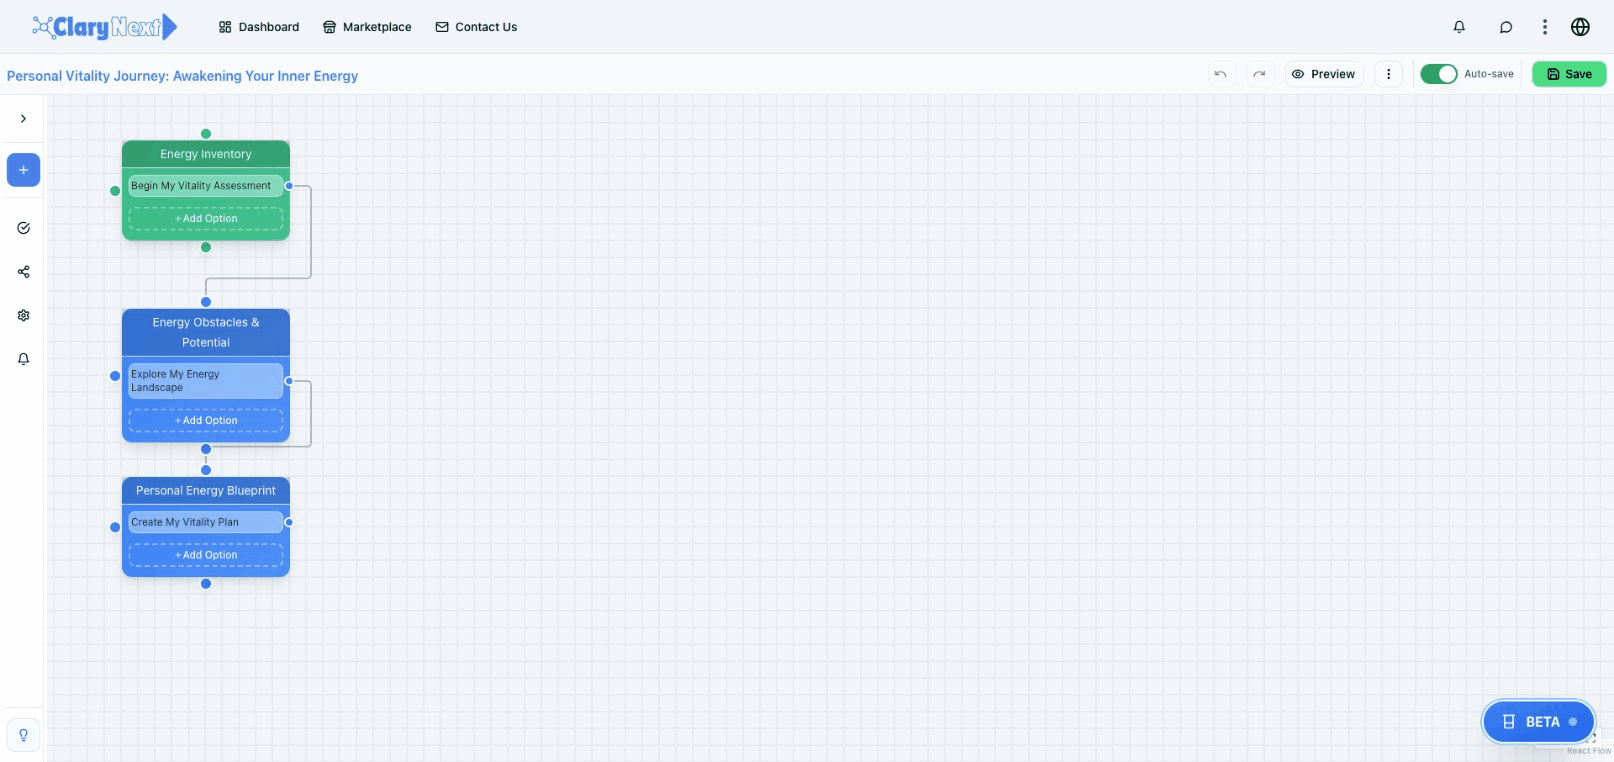
The Interface
Canvas Area
The central workspace where you build your activity:
- Nodes represent activity steps
- Connections show flow between steps
- Drag and drop to arrange
- Zoom and pan for navigation
Component Panel
Left sidebar with available components:
- Display Components — Text, images, video
- Input Components — Text fields, sliders, ratings
- Action Components — Tasks, reminders
- AI Components — AI prompts and analysis
Properties Panel
Right sidebar for configuring selected items:
- Component settings
- Styling options
- Validation rules
Toolbar
Top bar with actions:
- Save — Save your work
- Preview — Test the activity
- Settings — Activity-level options
- Publish — Make available to users
Building Your First Activity
Step 1: Create New
- Click Create New Activity
- Enter a title and description
- Choose a category
- The canvas opens with a start node
Step 2: Add Steps
- Drag components from the panel
- Drop onto the canvas
- A new step is created
- Connect to previous step
Step 3: Configure Components
- Select a component
- Set text, labels, options in properties panel
- Configure validation if needed
Step 4: Define Flow
- Connect steps with arrows
- Add branches if needed
- Create endpoints
Step 5: Preview and Test
- Click Preview
- Run through as a user would
- Test all paths
Step 6: Save and Publish
- Click Save
- Review settings
- Click Publish when ready
Designer Features
- Drag and Drop — Easy component placement
- Visual Flow — See the complete activity structure
- Real-Time Preview — Test without leaving designer
- Auto-Save — Never lose progress
Best Practices
- Start with the outcome — What should users achieve?
- Keep steps focused — One concept per step
- Provide clear instructions — Users should always know what to do
- Test thoroughly — Walk through every possible path
Next Steps
- Canvas Tools — Master the designer interface
- Components — Understand each component type
- Sketchbook AI — Let AI help you create
- Activity Settings — Configure your activity